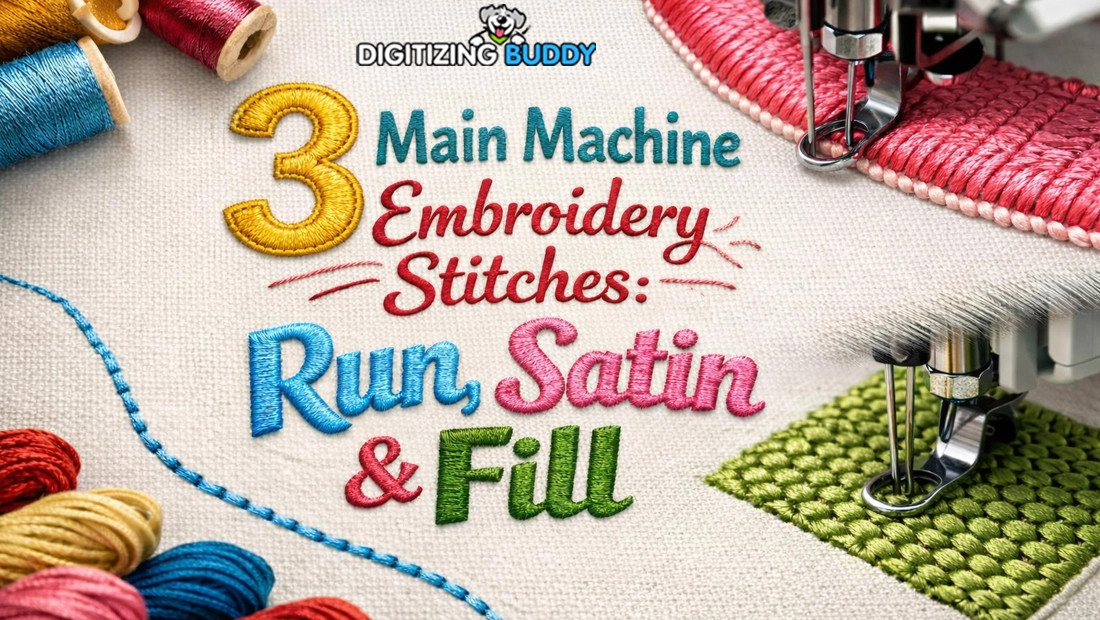
Machine embroidery is fun and creative. It turns simple fabric into something special. But behind every design, there are different stitch styles doing the work. If you understand these stitches, you can make better designs and avoid mistakes.In this guide, we will walk through the most common stitch techniques used in embroidery machines. We will keep things simple and easy to follow. If you want to learn more about different stitch styles, you can check this guide on Types of Machine Embroidery Stitches to explore deeper details.
Why Stitch Techniques Matter
Stitches are the building blocks of embroidery. Every design is made using them. If you pick the wrong stitch, your design may not look clean. It may also damage the fabric.
When you know how stitches work, you can:
- Choose the right style for each design
- Improve the look of your work
- Avoid thread breaks and gaps
- Save time and material
Even small changes in stitch type can make a big difference.
Basic Stitch Techniques
Let’s start with the simple ones. These are used in almost every design.
Running Stitch
This is the most basic stitch. It is a simple line of stitches placed one after another.
Where It Is Used
- Outlines
- Fine details
- Light designs
Why It Is Useful
It uses less thread. It is quick to sew. It works well on thin fabric.
My Experience Tip
Use this stitch when you want a clean and light look. But do not use it for bold designs. It may look too thin.
Satin Stitch
This stitch is smooth and shiny. It is made by placing stitches close together.
Where It Is Used
- Letters
- Borders
- Small shapes
Why It Is Useful
It gives a rich and clean finish. It is perfect for logos.
My Experience Tip
Keep the stitch width under control. If it gets too wide, the thread may pull or loop.
Fill Stitch
This stitch is used to fill large areas. It is also called tatami stitch.
Where It Is Used
- Big shapes
- Backgrounds
- Solid designs
Why It Is Useful
It covers space well. It is strong and stable.
My Experience Tip
Always use the right density. Too tight can cause puckering. Too loose can show gaps.
Intermediate Stitch Techniques
Once you know the basics, you can try more advanced styles. These add texture and detail.
Zigzag Stitch
This stitch moves in a zigzag pattern.
Where It Is Used
- Decorative edges
- Appliqué work
Why It Is Useful
It holds fabric layers together. It also adds a fun look.
My Experience Tip
Adjust the width and spacing based on your design. Small changes can change the whole look.
Motif Stitch
This stitch uses small patterns in a repeated way.
Where It Is Used
- Decorative fills
- Creative designs
Why It Is Useful
It adds style and texture. It makes designs look unique.
My Experience Tip
Do not overuse motif stitches. Too many patterns can make the design look busy.
Bean Stitch
This stitch goes back and forth over the same line.
Where It Is Used
- Bold outlines
- Simple artwork
Why It Is Useful
It creates thicker lines without using satin stitch.
My Experience Tip
Great for cartoon-style designs. It gives a hand-drawn feel.
Advanced Stitch Techniques
Now let’s move to more complex stitches. These are used for high-quality and professional work.
3D Puff Stitch
This stitch creates a raised effect. Foam is placed under the stitches.
Where It Is Used
- Caps
- Logos
- Bold text
Why It Is Useful
It gives depth and a premium look.
My Experience Tip
Use the right foam thickness. Too much foam can cause thread breaks.
Appliqué Stitch
This technique uses fabric pieces along with stitches.
Where It Is Used
- Large designs
- Decorative patches
Why It Is Useful
It saves thread. It also adds color and texture.
My Experience Tip
Make sure the fabric is cut clean. Rough edges can ruin the look.
Cross Stitch (Machine Version)
This stitch creates small X shapes.
Where It Is Used
- Vintage designs
- Patterns
Why It Is Useful
It gives a handmade look.
My Experience Tip
Use it for small designs. Large areas can take too long to stitch.
Chain Stitch (Machine Style)
This stitch looks like a chain.
Where It Is Used
- Decorative text
- Borders
Why It Is Useful
It adds a classic and stylish feel.
My Experience Tip
Test it on scrap fabric first. It needs proper tension to look right.
How to Choose the Right Stitch
Choosing the right stitch is important. It depends on many factors.
Fabric Type
- Thin fabric → Use light stitches like running stitch
- Thick fabric → Use strong stitches like fill stitch
Design Size
- Small design → Use satin stitch
- Large design → Use fill stitch
Design Style
- Simple look → Use basic stitches
- Rich look → Use advanced stitches
Common Mistakes to Avoid
Even experienced users make mistakes. Here are some common ones.
Using Wrong Density
Too many stitches can damage fabric. Too few can leave gaps.
Ignoring Fabric Type
Not all stitches work on all fabrics. Always test first.
Skipping Test Runs
Always do a sample run. It helps you fix problems early.
Poor Digitizing
Bad digitizing can ruin even the best design. Make sure your file is clean.
Tips from Real Experience
I have worked with many embroidery designs. Here are some simple tips that always help:
- Keep your design simple at first
- Use good quality thread
- Clean your machine often
- Check needle condition
- Always test before final stitching
These small steps can save time and money.
Tools That Help Improve Stitch Quality
Good tools make a big difference.
Stabilizers
They support the fabric. They help keep stitches in place.
Needles
Use the right needle size. A wrong needle can break thread.
Threads
Good thread gives better results. Cheap thread can cause issues.
How Stitch Techniques Affect Final Results
Every stitch plays a role in the final look.
- Running stitch gives a light feel
- Satin stitch gives shine
- Fill stitch gives strength
- Advanced stitches add style
When used together, they create beautiful designs.
Practice Makes Perfect
Learning stitches takes time. Do not rush.
Start with simple designs. Then move to complex ones.
Try different stitches. See how they look on fabric.
With time, you will understand what works best.
Final Thoughts
Machine embroidery is not just about pressing a button. It is about choosing the right stitch for the right job.
From basic running stitches to advanced 3D puff styles, each stitch has its purpose. When you understand them, your designs will look better and more professional.
Keep learning. Keep testing. And most of all, enjoy the process.


